All the minute photo-etch details have been added to the Panzerjäger's turret skirts, but that project has temporarily made way for a renewed intrest in the double Viper build, abandoned somewhere in august.
I messed up the Mark II's cockpit a bit, with some overenthusiastic aluminium overspray on the inside. I'm not even sure how I managed to do that. I wetted a cloth with some airbrush cleaner, and with a little persuasion the paint came off. Not all of it, but enough to make it presentable again. I then sealed it in several layers of Future.
The cockpit was attached with canopy glue, something I picked up at the hobby shop on a recent shopping spree. It requires force to be exerted while drying and is best left alone for 24 hours to fully cure. (The bottle says 3 hours before "handling", but safe trumps sorry anytime)
I used to same stuff to fill the large gaps around the canopy, because the fit left a lot to be desired. It's thick enough to fill big gaps and cleans up easily with a wet cotton bud. It dries as good as transparent, so any excess glue that oozes out on the inside of the canopy should hardly be visible.
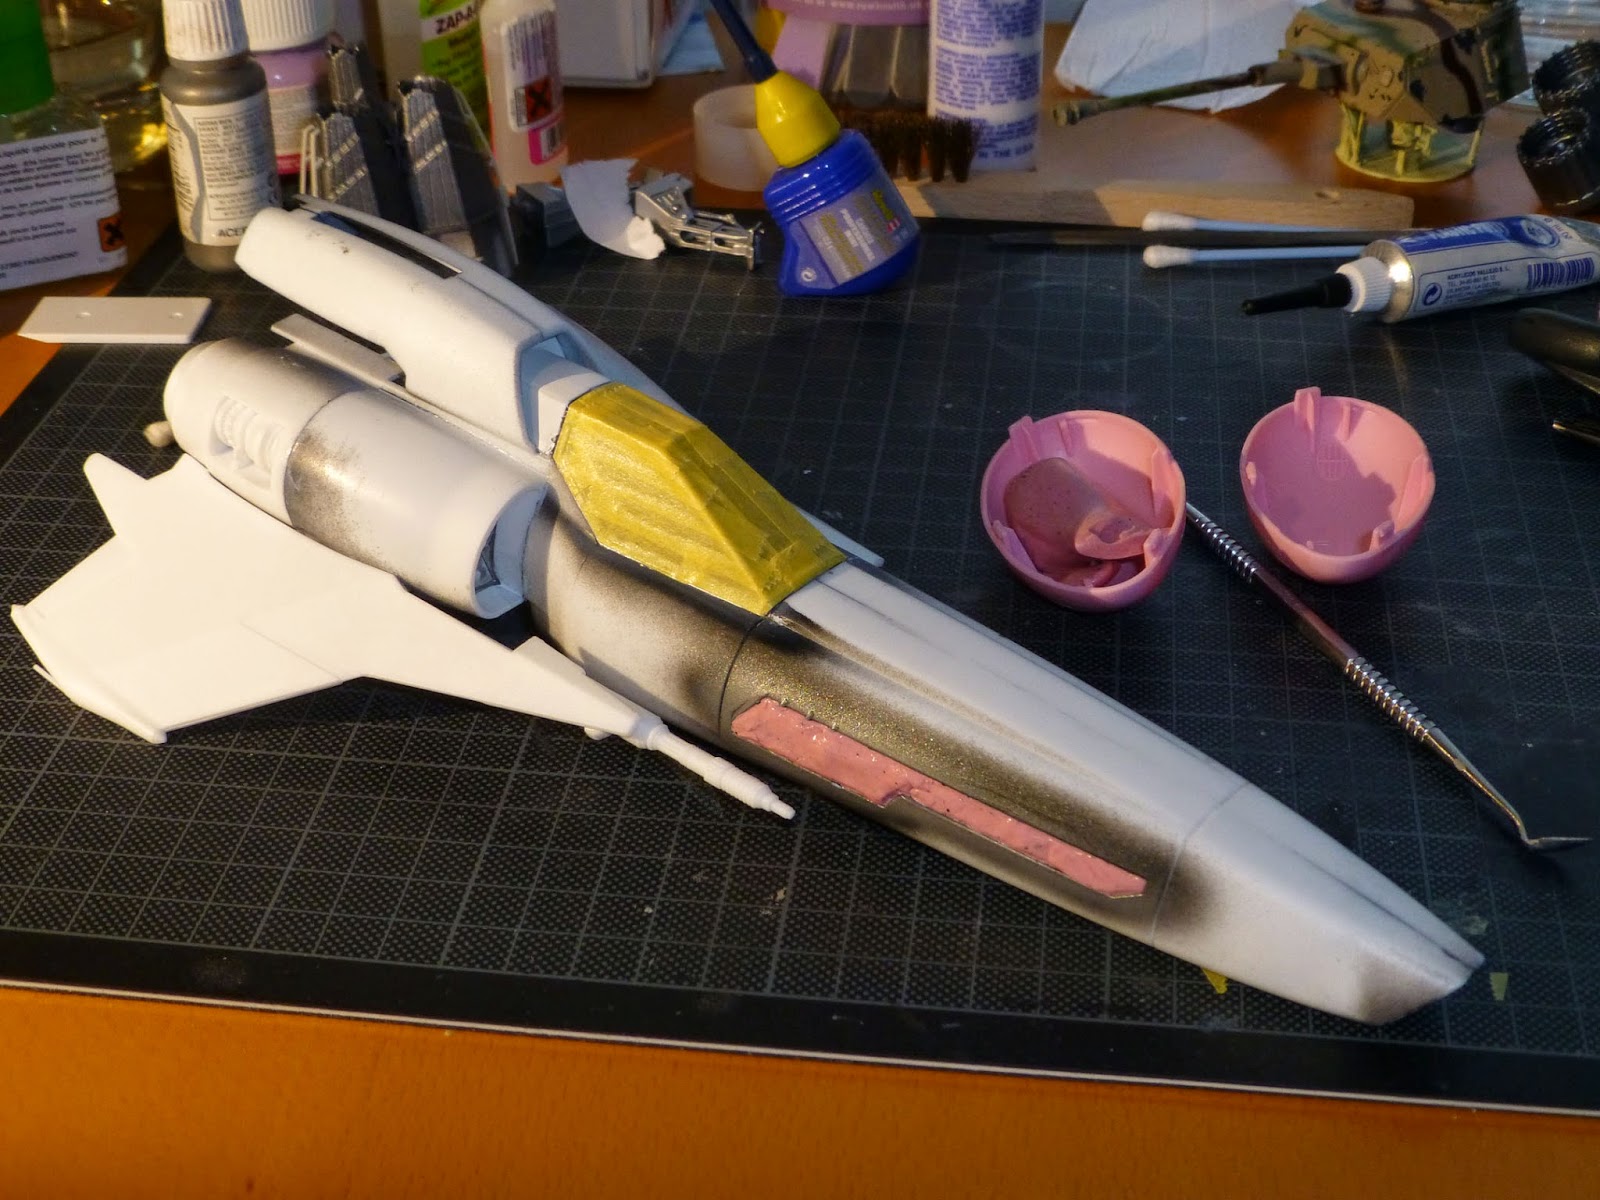
Once the cockpit was firmly attached, I masked it again and masked other pre-painted areas with silly putty. Pink really looks good on this Viper.
Usually, when I haven't used the airbrush in several months, it's because something had failed (or clogged) and I'm not anxious to tackle the encountered problem. I've done the occasional rant about it being my best friend and worst enemy, so I'm happy to announce this time that the past few airbrushing sessions went without a hitch.
I've been experimenting with Vallejo's flow improver, but I haven't reached a definitive conclusion. At first glance, it does seem to alleviate some paint flow issues, which shouldn't really come as a surprise, but it's always nice to see a product do what it's supposed to.
The Mark VII has been primed in black, because it's going to be metallic grey/blue-ish. The Mark II is white, so out came the dreaded white primer, but it went better than I feared. The main thing I learned since the last time I used it, is patience. I'm not a terribly patient man, but I've learned that my normal amount of patience hadn't quite cut it in the past.
You'd think it'd be easy to learn to go slow, but it's taken me a long time to go REALLY slow. The black primer only requires 2-3 layers. I've become almost fully resistant to the reflex of pulling the airbrush trigger too far back and to try to get complete coverage in one go. It will bite you in the ass if you want to go too fast. The white primer you see in the picture below is many many layers, added over 3 sessions. The pre-shading is only now starting to disappear a bit, but the result so far is smooth and thin. Too much paint would have started to run, create an uneven coat, or - worst case - obliterate detail.
The Mark VII is ready for it's base coat, so some mixing and experimenting will be up next. The Mark II needs some more assembly and a lot more white paint.
Question to you all : if a model is gonna be entirely white, can you just paint it with white primer and leave it at that, or does it pay in some way (smoother finish?) to go over it with more regular, non-primer white?


Looks ike a fun build and nice to have some time off to get some modelling done.
ReplyDelete