Showing posts with label Pink T-55. Show all posts

Monday, 3 May 2021

2 experiments for rusty tracks

One of the things that always bothers me in my tank-models is the state of the tracks. I tried painting them grey mixed with steel for newer tracks, or covered them with mud to avoid/hide the issue altogether. This - and weathering in general - is the main reason why I consider none of my current tank-projects "finished".

Some time has passed, some Youtube videos were watched and some new products magically found their way to the bench. Time to bite the bullet, at least where tracks are concerned.

Lightly rusted tracks

For the T-34, I wanted lightly rusted tracks. The tank in Skierniewice obviously has been painted over at some point, because none of the surfaces or parts that are particularly susceptible to wear and tear show any signs. Even the exhausts are pristine green, while they would be the first to lose the paint and start rusting.

Only moderate rust stains on the tracks here

No rust or wear-and-tear whatsoever on the exhausts

I painted the tracks dark grey and then used Ushi van der Rosten spray templates to add varying shades of rust stains. The result is what I was after.

The process was complicated by 1) having already glued the tracks closed (stupid!) and 2) the guide horns on the inside, which prevented the spray templates from laying flat.


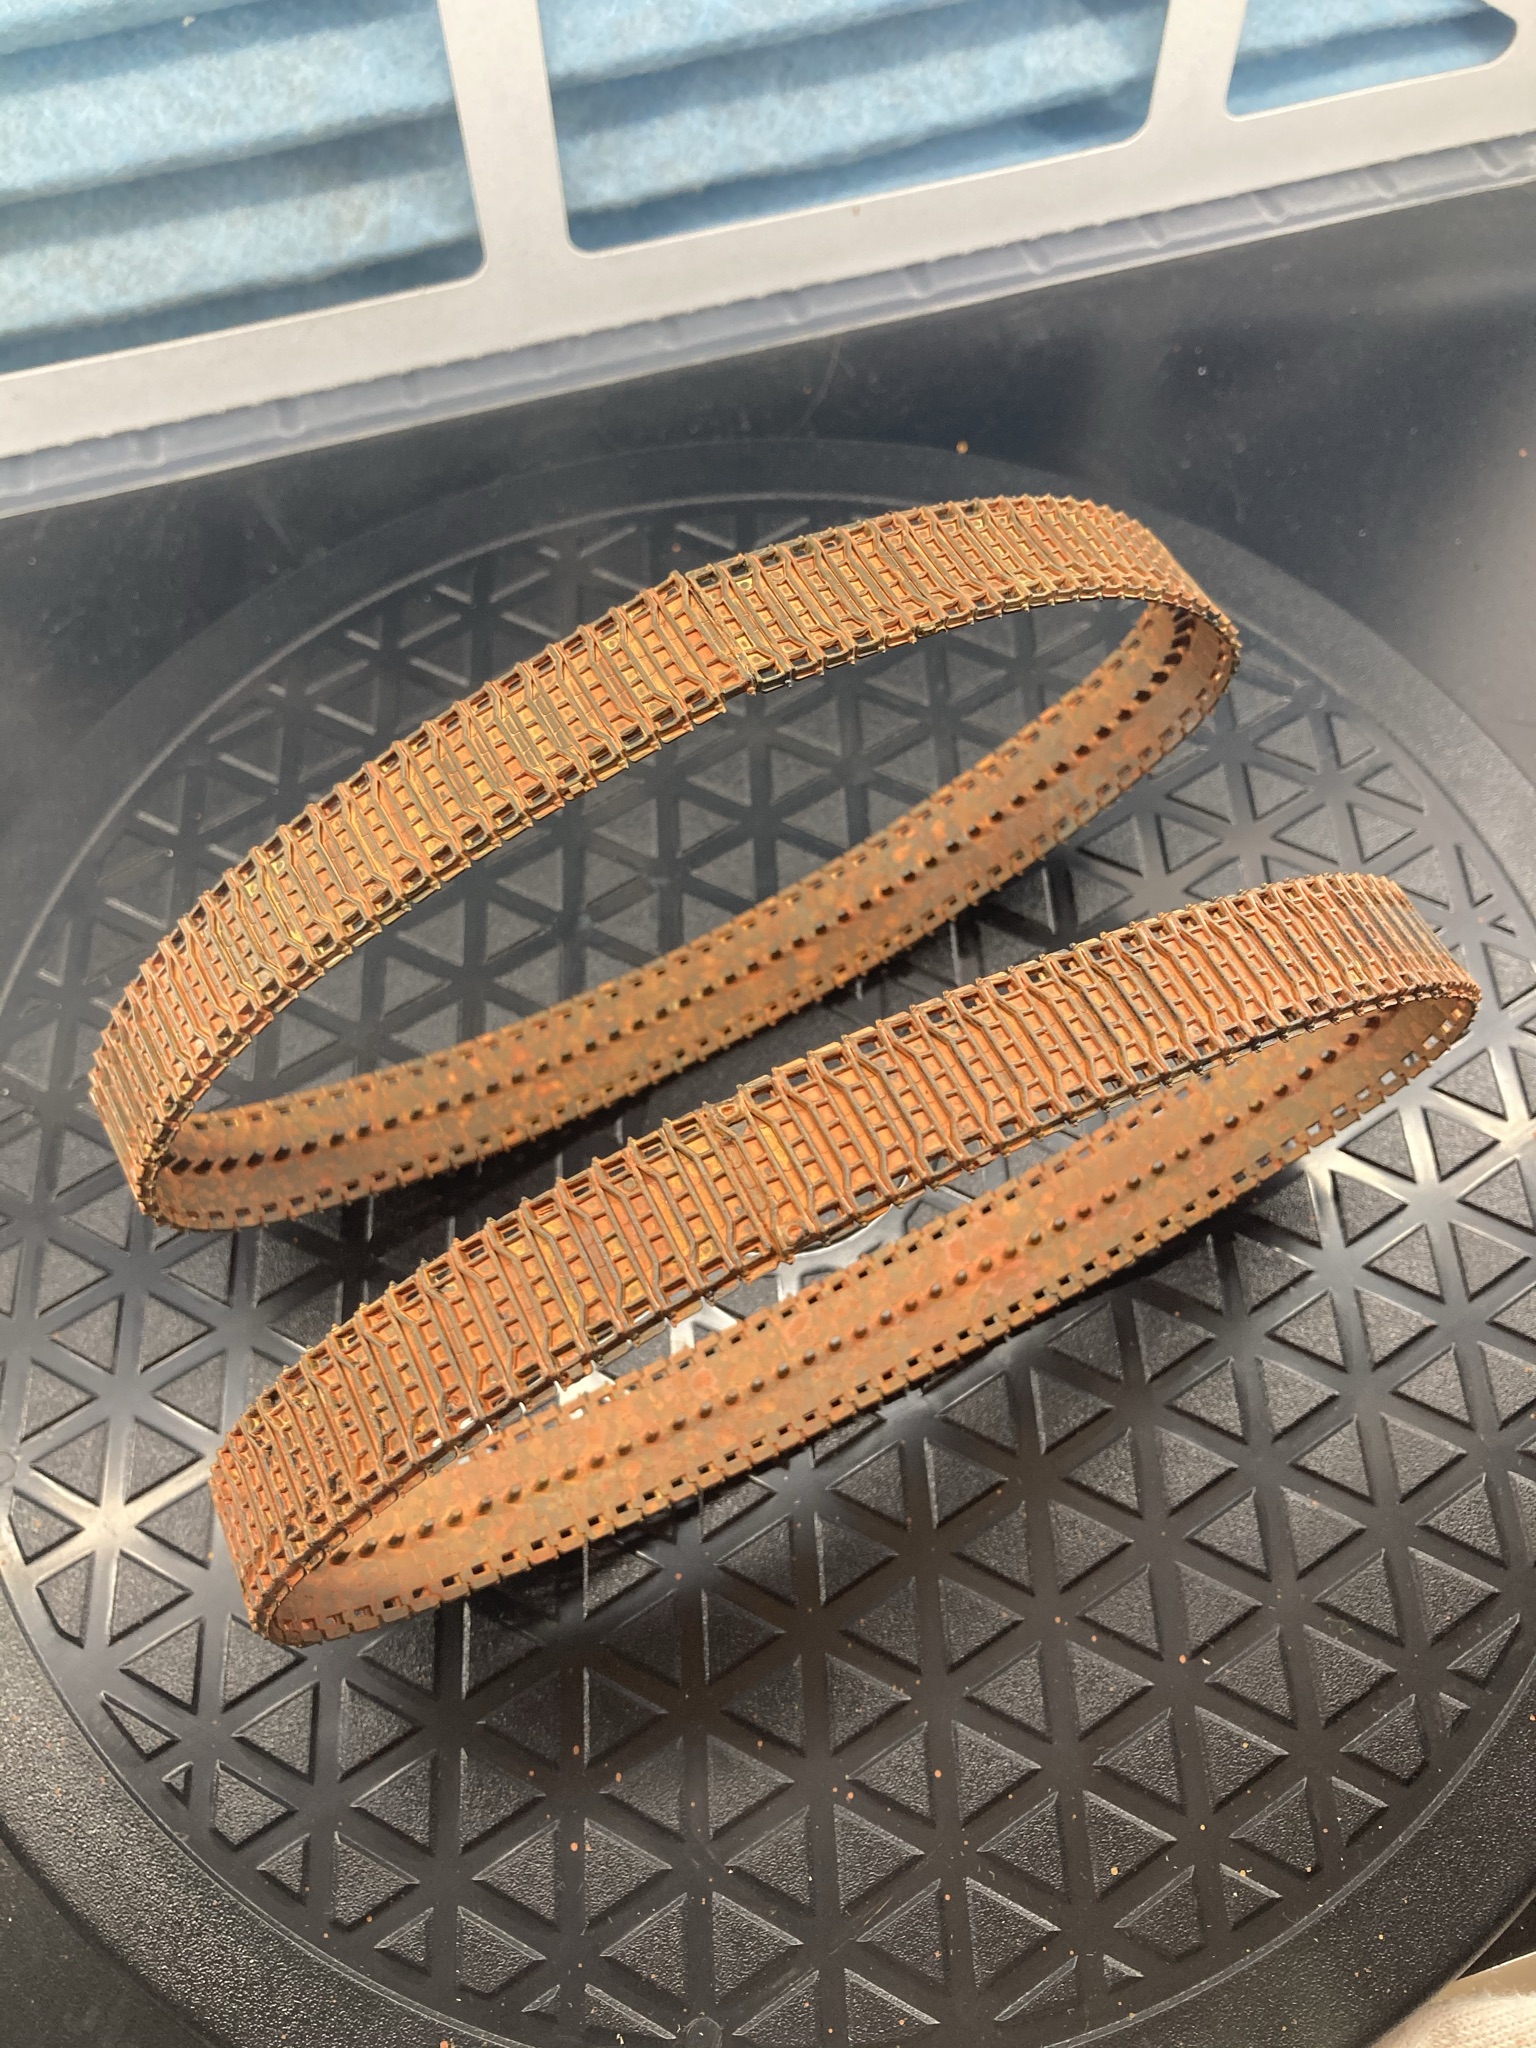
Heavily rusted tracks

For the T55, I wanted heavily rusted tracks, indicative of a vehicle that hasn't moved in years (or decades).

For this, I purchased Lifecolor's set Dust and Rust, because I read only good things about them. Michael Rinaldi uses them and uncle Night Shift demonstrates his use in this video, which explains it 10 times better than I can describe with words here.
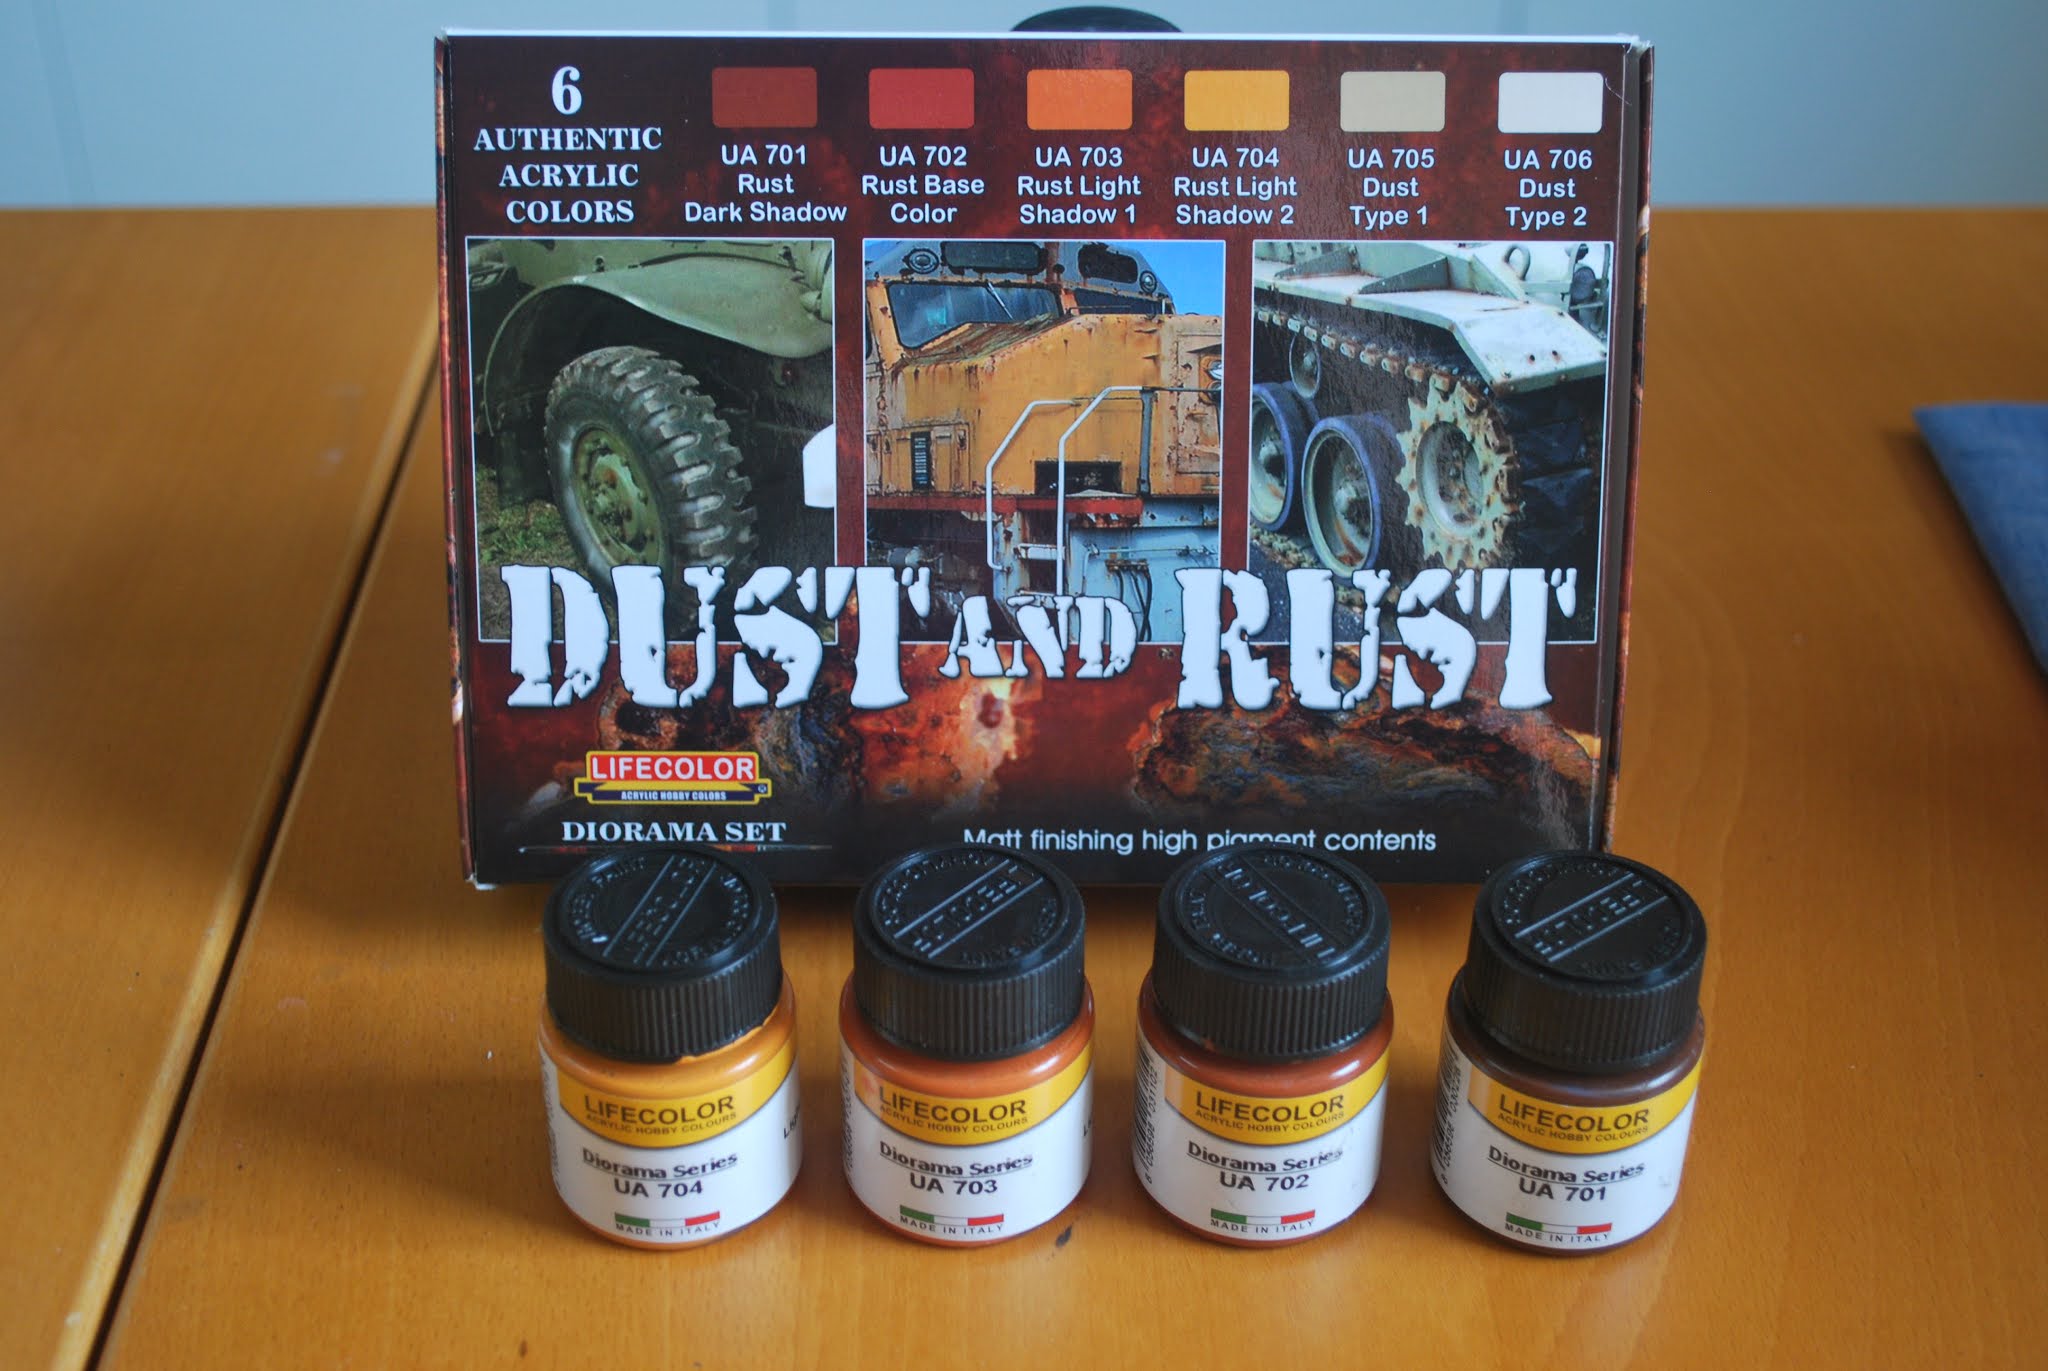

The Lifecolor paint does indeed dry beautifully flat and the next layer can be done within 15 minutes. If you're like me and take a tv break in between and lose track of time, it can take a while longer.

In a nutshell, I did the following (but do watch Night Shift's video if you want to see details):
(paint is heavily thinned 20/80 with tap water)
  • 1 heavy layer of color #1, including speckles
  • several lighter layers of color #2, with speckles
    With "lighter" I mean: not slapping it on to try and get full coverage, but apply sparingly and re-apply where needed after the first has dried.
  • 1 light coat of #3, with speckles
  • 1 extremely light (thinned 5/95) coat of #4, with "normal" speckles
  • another light coat of #3 to try to blend it all together
  • another round of speckles with #1
You can go back and forth between colours, adding layers until you have the desired result.
Here are a few snapshots.


Saturday, 1 May 2021

Weathering with AMMO Shaders

Just around the time I wanted to start dirtying up the Battlestar Galactica (and the T-55, see lower), I saw a video by Mig Jimenez about the "Shaders" product line.

It looked to be a (supposedly) easier technique than using oils - which would have been my original approach - but I liked what I saw and decided to give it a go. I needed to order some stuff anyway and at 2-3 euro per shader, I wasn't going to break the bank.

For quick reference, here's a before and after picture.


I started with "starship filth", but it didn't apply as easily as the video had made it seem. The Galactica was varnished with a semi-gloss (i.e. satin) and while my trigger-control on the airbrush is now more controlled than in the past - partly made easier by having a new and better airbrush - the water-based shader did have a tendency to spider away at times. It's easily removed with a paper towel (or finger if you're too lazy to get one, like me) but still a nuisance.

On a piece of paper, I could control it 100% for ultra-thin hairlines from a distance of just 1 centimeter, but on the model (too smooth?) I couldn't manage anything smaller than a millimeter because I had to stay too far from the surface to avoid spidering.

Tip-dry also reared it's ugly head for the first time in years, but it remained tolerable.

Some more detailed pictures. The effect is subtle in some places, more pronounced in others. Mostly visible on the armour plating (especially around the round decal) and in the center of the engine pods (Can we call these nacelles? Or is that restricted to Star Trek?)


After the shader, I wanted the panel lines to pop a little more, so I went over the entire model with a dark panel line wash.
I think I should have sealed in the shader with varnish (or just waited longer for it to fully cure), because here and there the wash "re-activated" the shader (I know that's not the right word). But the resulting smudges were actually ok to look at.

The following pictures have panel line wash on the right, nothing yet on the left.


Meanwhile, the T-55 had been sitting on a shelf for a long time and the decals had discoloured. I tried lightly sanding, but the discolouration is on the inside and sanding only "weathered" the decal in a way I didn't like.


I picked a light rust shader to start. I first varnished it with a matte varnish, hoping that a more matte layer would be better to avoid spidering, but when I went in extremely close to the model, trying for very thin rust-streaks, spiders were back and again I couldn't manage the hairlines I desired.

I settled for what I could achieve and went around the model in a way I hope will look realistic, assuming weld seams would be more susceptible to rusting than flat surfaces.

If I give shaders another go on a future model, I'll try a flat varnish first to see if I can achieve the detailed control I would like.

I will be using oils to add darker rust details later.


Saturday, 13 January 2018

A pink T-55! Why not?

Also late 2016, I was without modelling inspiration, so I asked my daughter what next I should build. She could pick anything from the stash (expect the really big ones), which ended up being Lindberg's 1/35 T-55.

Small detail : she wanted it to be pink.
I actually found a picture of a pink T-55, outside of the Museum of Contemporary History in Ljubljana (Slovenia). It was painted pink overnight (and flowers put in the barrel) on the eve of International Women's Day 2012.


Of course, during construction, another few good practices were meant to be embraced:

  • Always wash the sprues first, especially older kits (a lot of discussion about this, mainly the reason why I put it here :-))
  • Careful when removing (smaller) parts of the sprues.
  • Inspect wheel/axle alignment every minute until it's dry.


Construction finished, I went to work with black primer and Russian Green.


A layer of heavy chipping fluid, then pink and then toothpicks and brushes. Love the technique, hate the result.


It now looked truly hideous, which she did not fail to point out. I liked how she could honestly point at it and say "Daddy, you made it ugly!". She'd be a great SMCG member, no attaboys.

So, I went over it with several more fine layers of pink and now looks more the way I wanted it : multiple layers of distressed pink over a green base.
It needs some more weathering, maybe some fuel/oil stains and it'll be done.