Showing posts with label Products. Show all posts

Monday, 3 May 2021

2 experiments for rusty tracks

One of the things that always bothers me in my tank-models is the state of the tracks. I tried painting them grey mixed with steel for newer tracks, or covered them with mud to avoid/hide the issue altogether. This - and weathering in general - is the main reason why I consider none of my current tank-projects "finished".

Some time has passed, some Youtube videos were watched and some new products magically found their way to the bench. Time to bite the bullet, at least where tracks are concerned.

Lightly rusted tracks

For the T-34, I wanted lightly rusted tracks. The tank in Skierniewice obviously has been painted over at some point, because none of the surfaces or parts that are particularly susceptible to wear and tear show any signs. Even the exhausts are pristine green, while they would be the first to lose the paint and start rusting.

Only moderate rust stains on the tracks here

No rust or wear-and-tear whatsoever on the exhausts

I painted the tracks dark grey and then used Ushi van der Rosten spray templates to add varying shades of rust stains. The result is what I was after.

The process was complicated by 1) having already glued the tracks closed (stupid!) and 2) the guide horns on the inside, which prevented the spray templates from laying flat.


Heavily rusted tracks

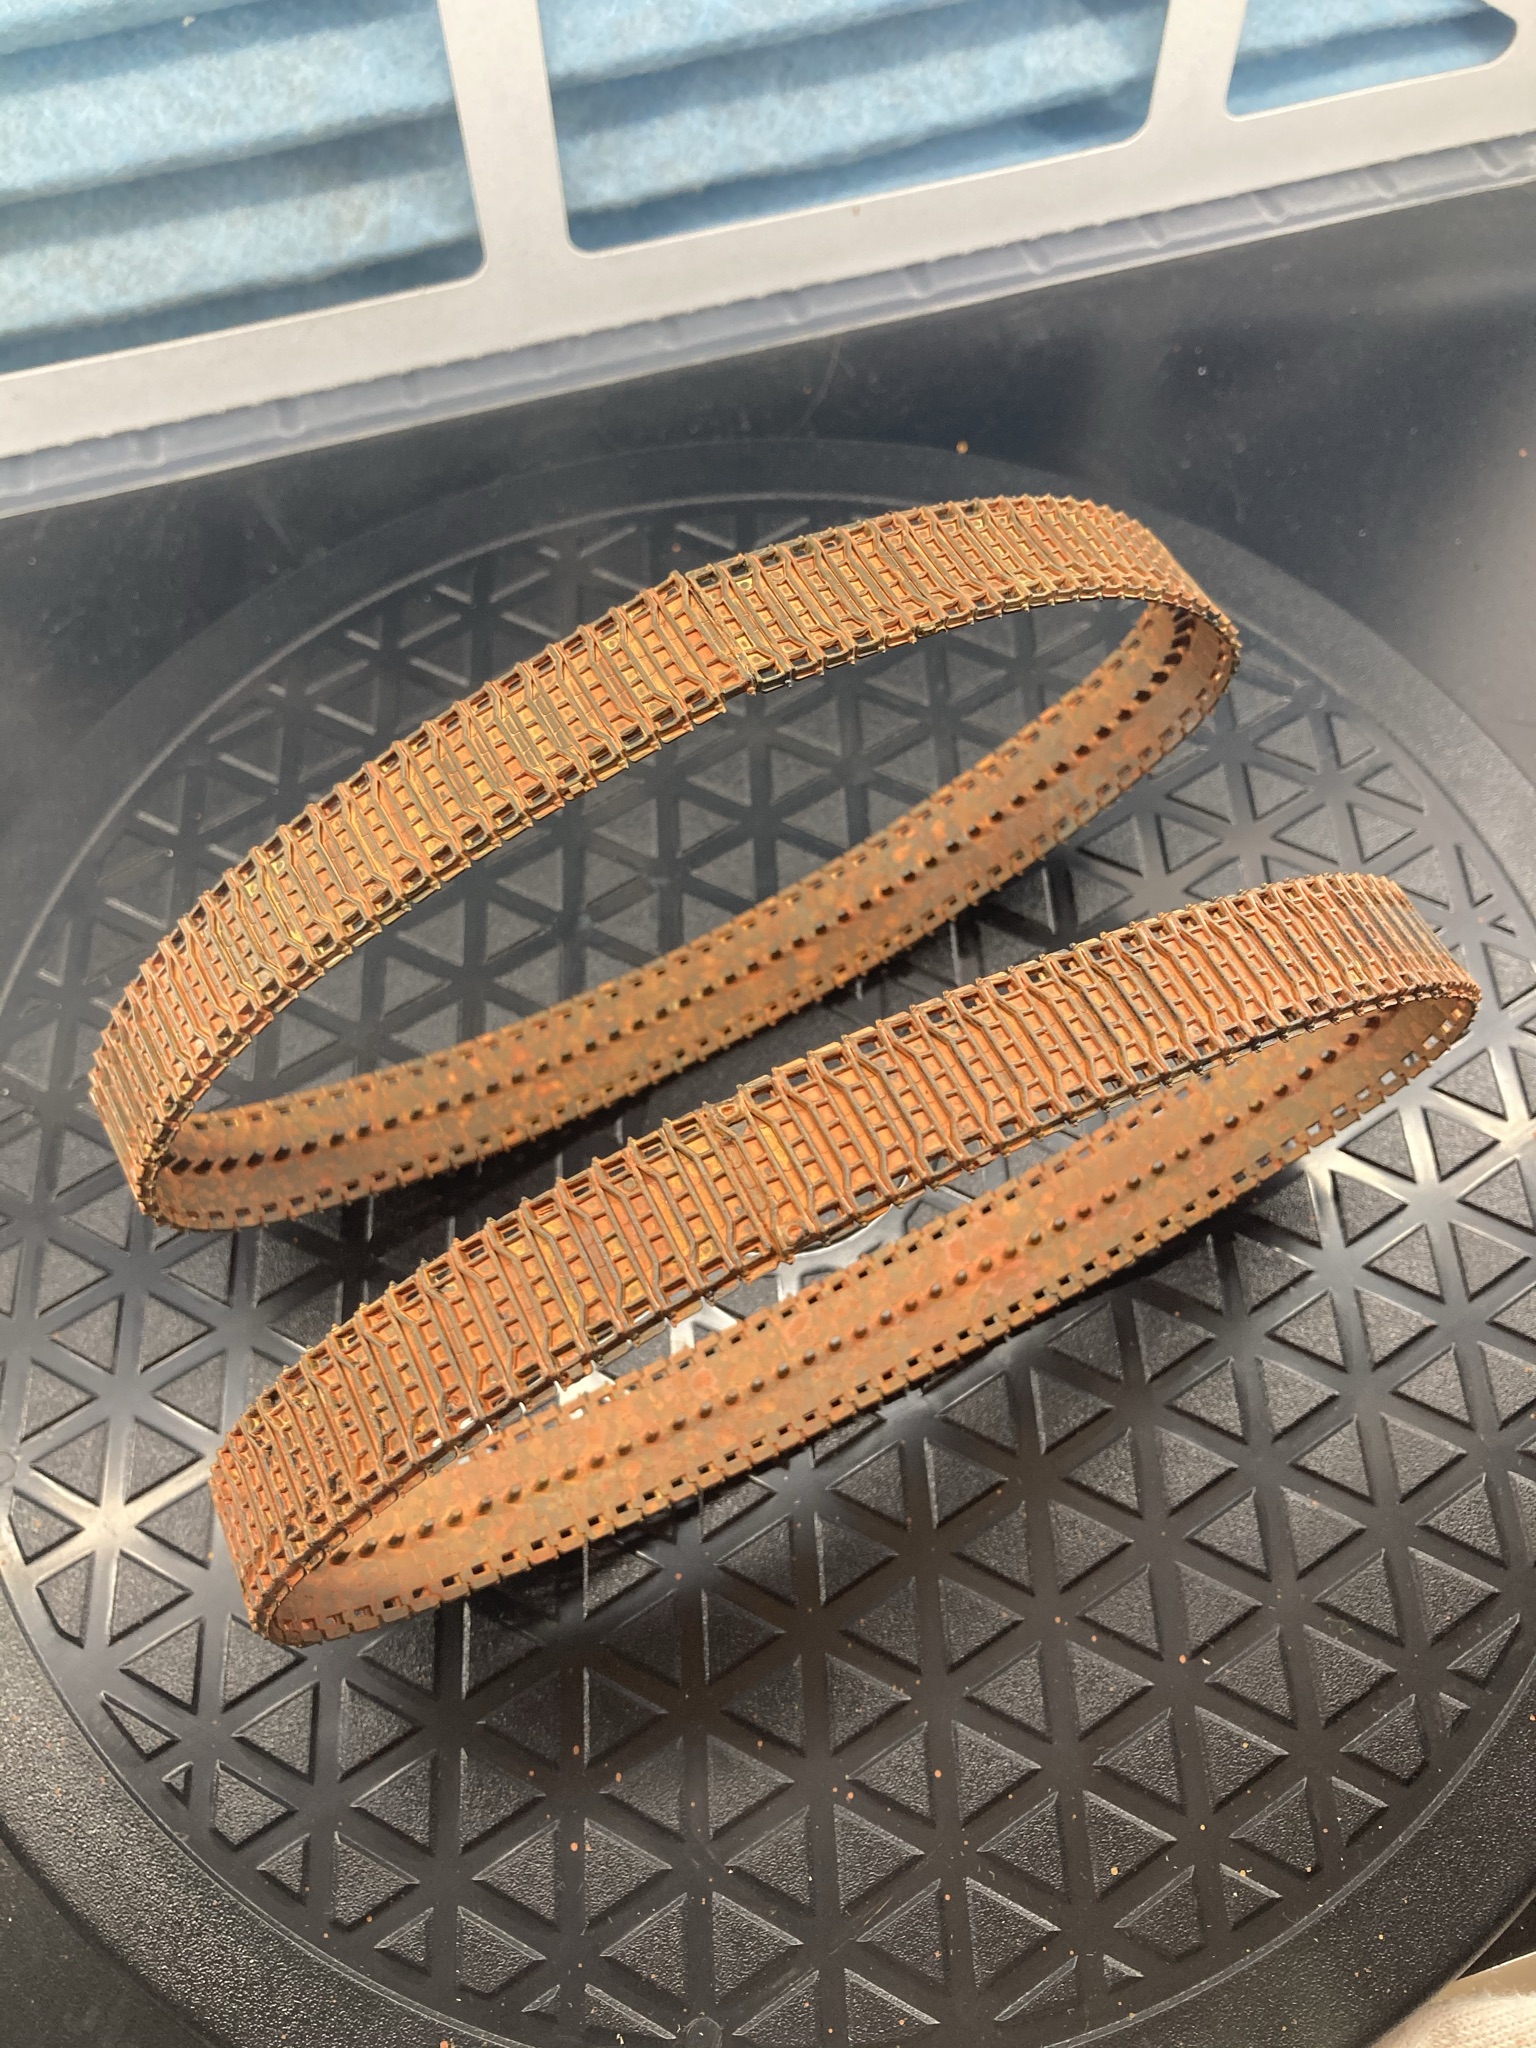
For the T55, I wanted heavily rusted tracks, indicative of a vehicle that hasn't moved in years (or decades).

For this, I purchased Lifecolor's set Dust and Rust, because I read only good things about them. Michael Rinaldi uses them and uncle Night Shift demonstrates his use in this video, which explains it 10 times better than I can describe with words here.
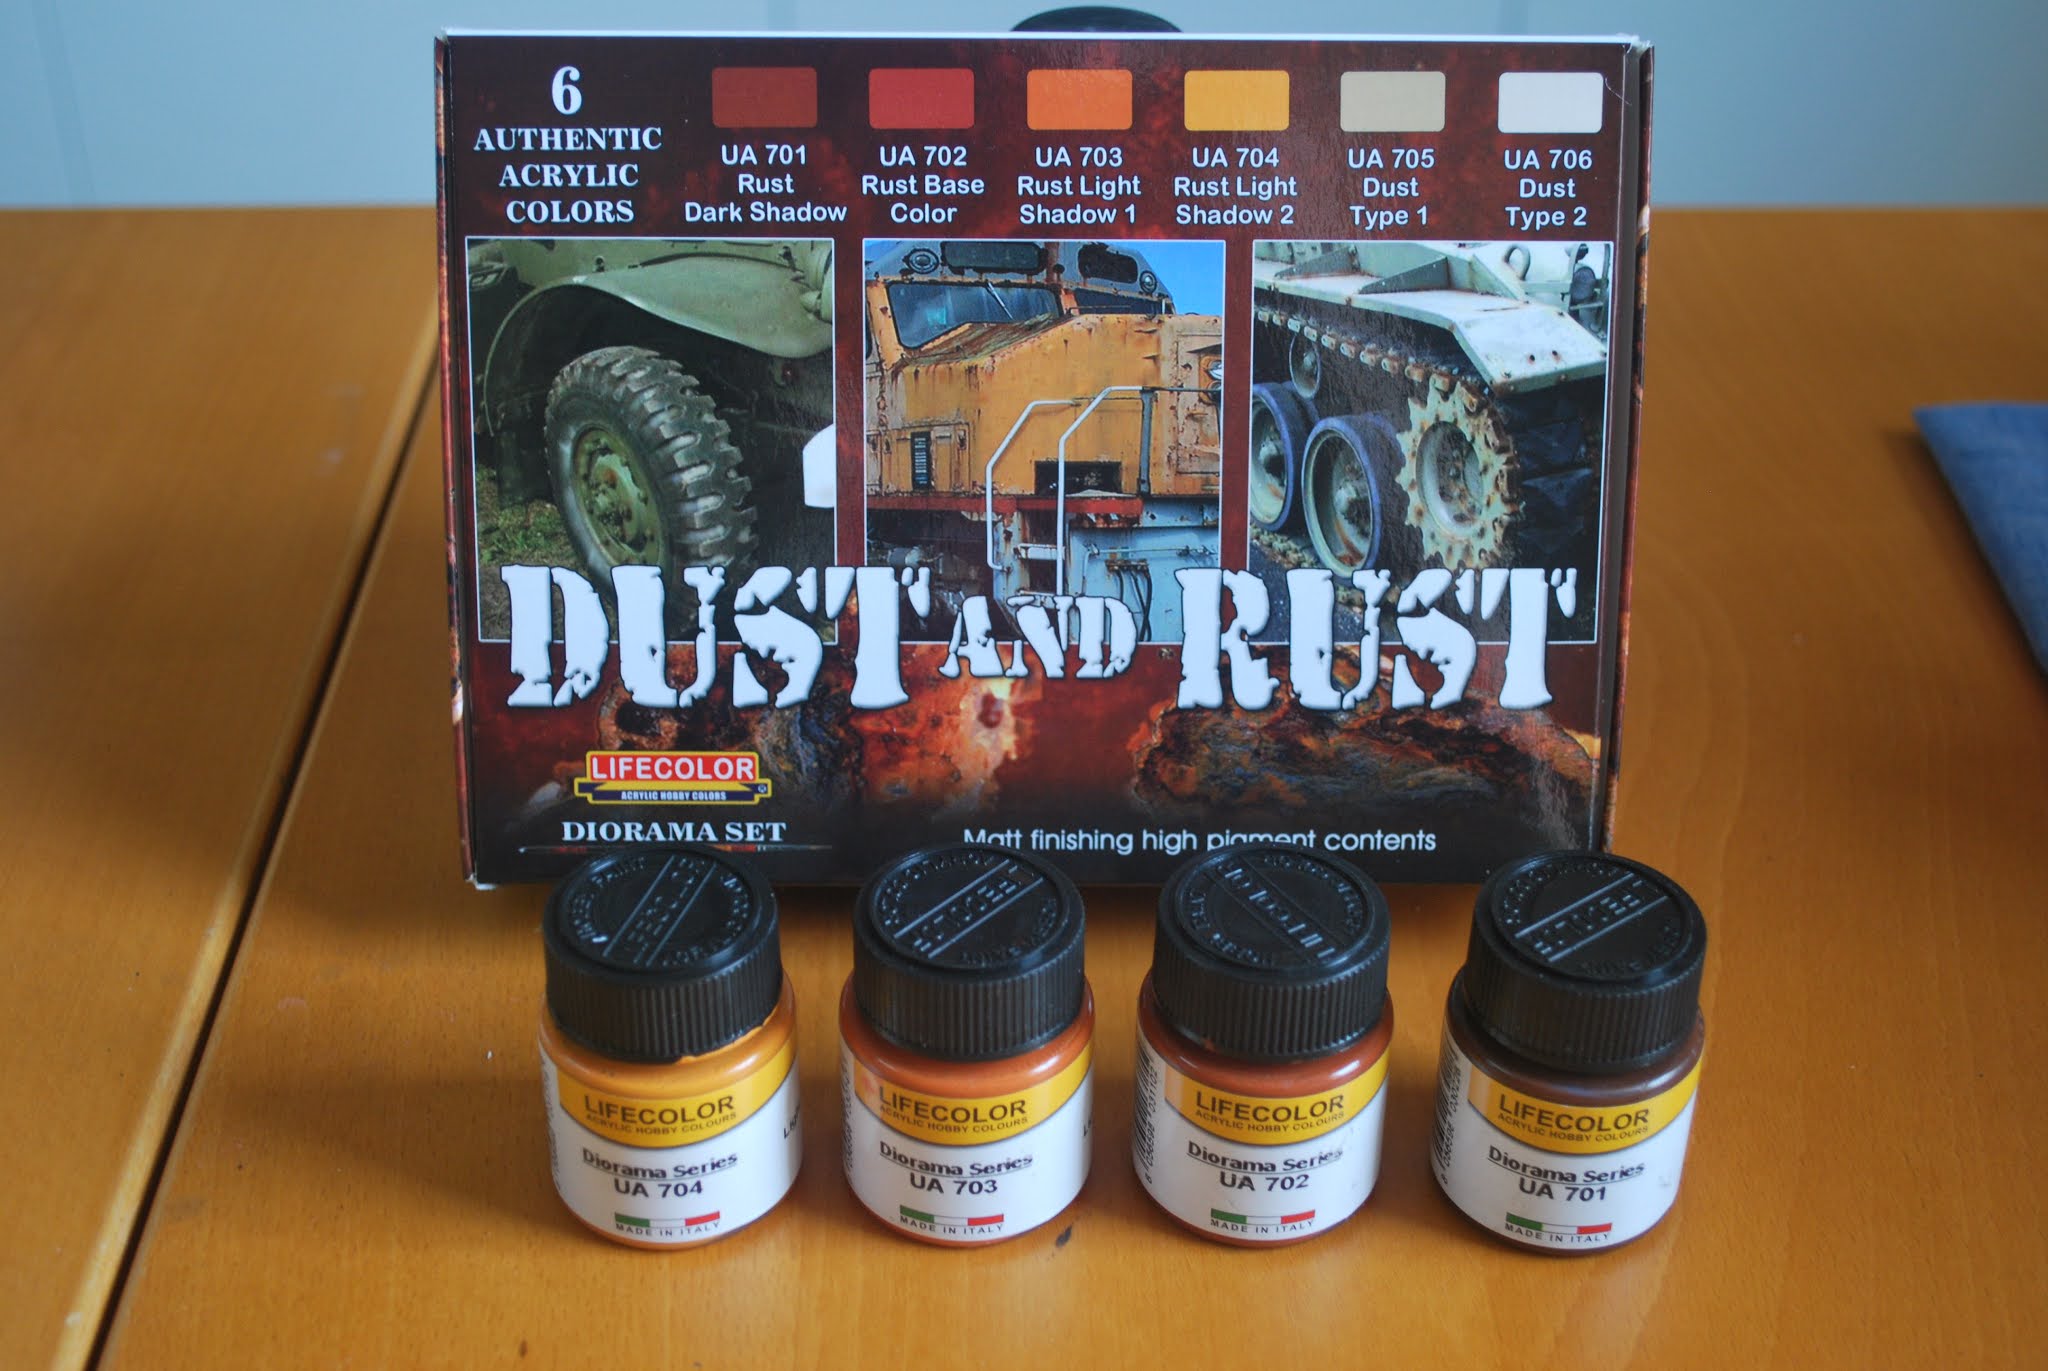

The Lifecolor paint does indeed dry beautifully flat and the next layer can be done within 15 minutes. If you're like me and take a tv break in between and lose track of time, it can take a while longer.

In a nutshell, I did the following (but do watch Night Shift's video if you want to see details):
(paint is heavily thinned 20/80 with tap water)
  • 1 heavy layer of color #1, including speckles
  • several lighter layers of color #2, with speckles
    With "lighter" I mean: not slapping it on to try and get full coverage, but apply sparingly and re-apply where needed after the first has dried.
  • 1 light coat of #3, with speckles
  • 1 extremely light (thinned 5/95) coat of #4, with "normal" speckles
  • another light coat of #3 to try to blend it all together
  • another round of speckles with #1
You can go back and forth between colours, adding layers until you have the desired result.
Here are a few snapshots.


Friday, 12 June 2020

PL-01 - Sprue Goo to the rescue

You know how you learn from your past mistakes, the hard way so to speak, but after so many years of doing the same thing you learn to avoid those? Well, *I* don't, at least not where scale models are concerned.

I know you're supposed to fit twice, glue once. I know when dry-fitting the 2 halves of the turret around the gun it needed some force to close the gap. But still I went ahead thinking I could do it.

I closed the rear of the turret, glued it and let harden.
Then I closed the right side with a lot of force and clamps, glued it and let harden.
And then there was no way to close the left side, not even close to it. There was a gap of at least 2 millimeter. By pushing extremely hard, I could get them to touch, but no amount of clamps, tape, whatever could hold it in place. It was also very awkwardly located to put a vice on it.

In hindsight, I know exactly what I should have done. I should have made the holes where the gun fits in just a little bigger, but it was too late.
(I increased the contract in the photo to make it more easy to see)


So I decided to #fixThatShit and put putty in the gap, but my tube of Tamiya Basic Putty had almost dried up. I thinned it with TET (Tamiya Extra Thin cement) and got it back to a working state. I then slathered it copiously over the gap.


I like to put tape alongside the gap I'm trying to fill. I remove it after about an hour, when the putty has had some time to set, but has not yet hardened. The tape prevents too much plastic from being affected, removing it early prevents the putty breaking off as opposed to removing the tape too late.

When fully cured, I gently started sanding the putty into shape, but because of the turret design it needed to end in a point and the putty was just too soft or something. It sands away too easily.

I also found that thinning the putty with TET has eaten away where the plastic was at it's thinnest, making a bad situation even worse.


In the past, I have read about people making their own filler (mostly referred to as "Sprue Goo"), by dissolving left-over sprue in TET, making a gooey plastic mess. Because it's the same plastic as the kit, it bonds really well, hardens perfectly and sands just as well as a normal plastic part would.

I put some TET in an empty glass(!) bottle and added strips of white styrene I had left over. Becasue the strips where extremely thin (0.13mm or 0.005") they dissolved fully within mere hours, instead of the recommended 24 hours if you chuck in sprue pieces of 0.5 cm or bigger.

I applied my home-made filler with a toothpick. It was a bit too thick for use with a brush, but thick means it's easy to put a blob and count on it to stay in place (more or less).
In any case, you have control over the thickness by adding more TET or more styrene. When not too thick and applied sparingly or in multiple layers, it levels perfectly, which is an added bonus.


After about 16 hours, I tried gently sanding the plastic, but it was still a little malleable. It was after all a 3-4 mm blob, so needed more time to cure. After 24 hours extra, it was rock hard.
It was then easily sanded into shape and after priming and painting, I was very happy with the result.

In close-up, you still see some trace of it, but I'm calling it a success anyway.


Sunday, 13 December 2015

Lunar module - Basecoat Vallejo metal colours

I must say, I'm rather impressed with Vallejo's new range "Metal color". I only tried duraluminium, but others have tried most of the colours and they behave the same way.

It sprays almost like water, so easy on the trigger is the most important message I can give you. The result is very ... well, "metallic" is the best word to describe it. If I had polished the primer a bit, it would probably have looked even better. Metallic paints are very unforgiving for surface flaws.

The gold on the descent stage (picture below) is regular old "Model color" and sprays badly (old bottle? bad technique?). Result is okay and since it's on an irregular surface (aluminium foil), it's hardly noticeable.

For the landing legs (which I've wrapped in aluminium foil for the proper texture), I will admit there's something extremely dissatisfying about priming aluminium foil in black and then painting it aluminium. (Reason; other colours will follow)


Wednesday, 2 December 2015

Lunar module + Vallejo gloss black primer

First step in trying out Vallejo's new metallic colours, is seeing how well the accompanying gloss black primer behaves.

I can already tell you it sprays beautifully straight from the bottle. That may not sound surprising to you, as the entire Vallejo Model Air range and the primers is supposed to do so, but as I usually have to thin it 30-40% to get it right, this was an actual first. Low pressure and easy in the trigger.

In a quick few coats, the result is indeed very glossy, laying down what should be the perfect undercoat for their new metallic paint range.

Now THAT is glossy! 


I've wrapped some parts in aluminium foil and primed those as well. I haven't tested how durable the primer is when masking tape comes in the picture, but I'll let you know.


I'll be honest, sometimes I actually like the construction phase, especially when it's all fiddly bits. Getting on your knees to find them on the floor is the best!


Thursday, 20 February 2014

Vallejo's new thinner formula

While browsing the racks in my not-so-local hobbyshop, I discovered the Vallejo airbrush thinner has a new formula (for over a year now). It's transparent now, where the previous version was milky-white, and smells more like their airbrush cleaner.

I asked the store clerk if they knew what exactly had changed about it, but that conversation went like this :
  • (Me) Hi, do you know what's "new" about this "new formula"?
  • It's a little better.
  • (Me) Okay, but the previous was milky white, so is anything fundamentally changed?
  • It's always been transparent.
  • (Me) I have a bottle with the white version at home.
  • It's never been white.
  • (Me) Ow-kay. Thanks!
  • You're welcome! 
  • (Me) /facepalm
I decided to purchase a bottle to see what could be different about it.


Both bottles are marked as 71.161 and say they're to be used for thinning Model Air. I've been thinning Model Color (for brushpainting) with it as well, as I prefer to thin paint with an appropriate thinner and not just water. Thinning with water tends to destroy the adhesive property of paint.

The old (white) version does not change the colour of the paint in any way, but if you leave a puddle of the pure product to dry, it will produce a matt white-ish layer.

The new version appears to be "thinner" (pun intended) than the previous, making it actually - for me - better and easier to work with. Since switching to the new version, I've not had issues with paint consistency or occasional clogging. Cleaning the airbrush seems easier as well. I still use the dedicated "Airbrush Cleaner" (71.199) for this, but it would seem less is needed to get the brush clean.

Even though the new thinner smells a bit like the cleaner, it is not the same product (maybe a "softer" version or missing a key "cleaner" ingredient? I'm no chemist) because the cleaner actually breaks down the paint. I recommend against using the cleaner as a thinner, even though  many modellers seem to swear by it for thinning Model Color for brushpainting.

Anyway, for me this new formula makes airbrushing easier.

Saturday, 10 August 2013

Product experiment - Microscale Kristal Klear

I haven't done much, modelling-wise, the last 10 days. I was waiting for new paint for the Mustang. 
I added a new product to my order : Microscale's Kristal Klear. From the same company that makes MicroSol and MicroSet for treating decals, this product is used to create lenses and (small) windows.


Basically it's a kind of glue that dries completely colourless and transparent. It can be used to glue clear parts (e.g. canopy, lenses, ...) as it dries clear and doesn't fog the clear part like super glue ("CA glue") does. I've read you need to apply constant pressure, though, or it doesn't really stick. Just a matter of keeping some clamps nearby.

On the picture below, a fresh wet puddle, which is still white and a dry patch beside it. When completely dry, it feels rubbery. I could peel it off the metal dish and it has the same feel as dried Latex, except for being completely transparent.


When applied to a small opening - windows on a model airliner for instance - it can be used to "bridge the gap". I made an impromptu window with some left-over sprue below. Once dry, it's as transparent as a glass window. Well, maybe not perfectly like glass, and I also got an airbubble trapped inside the window, but practice makes perfect.


Besides creating windows from openings, it can also be used to make lenses or whatever you want to have transparent. For the Ford Shelby's side mirrors, I placed a tiny piece of aluminum foil inside the part and covered it (liberally) with the Kristal Klear. Once dry, it was completely transparent again.


(In the future, I will be more careful to get the foil straight and flat, because now it looks rather ugly.)

Saturday, 29 June 2013

More pigment testing

While documenting the previous post, I suddenly remembered seeing someone use (diluted) white glue to fix pigments. Assuming white glue is a synonym for "wood glue", I did some more testing.


I diluted my white glue with water, then added pigment to the mix and spread it on my test card.
Bottom left : heavily diluted. Bottom right : slightly diluted.
In both tests, the pigments remain firmly fixed, but the right looks ugly and the left one is easier achieved with an actual wash.

Then I remembered something else. Instead of making a mixed fluid of glue and pigments, I made a new diluted mix of glue and water (but no pigments) and applied that to my test card. On top of that wet area, I applied dry pigments with an old brush, just stippling it on until the entire wet spot was covered.


When this had dried a little, I carefully touched the pigments. Half of them remained fixed, but many came loose. On a hunch, I added some more diluted glue all over the surface, letting it soak into the pigments.


Once this was dry, the pigments withstood even hard rubbing with a finger, while the looks are becoming more and more than of  thick layer of dust or dirt in a somewhat realistic fashion.
If I were to apply this to tank tracks, wheels or underside, I think I could make something rather nice.


The only issue remaining is how to do it realistically and not overdo the effect. If I use glue, and the result is too heavy, I cannot undo it. If I do not use glue, even mild handling of the model will shake the pigments loose. I was told white spirit would fix the pigments, but it clearly didn't. At least, not on my index card. I should test further on plastic with actual paint on it, to see if it behaves differently.
Maybe I can work out a technique where I apply the pigmenst dry to the model, temporarily fix them with white spirit and - when happy with the result - add diluted glue to fix it all in place.

More experiments will be needed and I'm a little hesitant to try it on an actual model.

Experimenting with pigments

I recently bought several pigments from AK Interactive. I'm very happy with their washes, so wanted to try my hand at their pigment range.

One of my concerns is how to fix the pigment to the model, allowing someone to pick up the model and turn it over, without fear of removing the carefuly placed pigments with their fingers.

As a first experiment, I tried several mediums to dissolve the pigments in :
  • Water
  • White spirit (= "mineral spirits")
  • Vallejo matt varnish
  • Alclad II klear kote matte (basically : matt varnish)

Here you see all 4 tries (still wet) on an index card. The Vallejo varnish was a little thick, which contributes to a slightly ugly result. I'm not trying to get the most realistic look here. I'm trying to find out which medium keeps the pigments in place the best.


One remark about the white spirit. While the other mediums all dissolve the pigments, effectively creating a kind of "wash", the white spirit does not dissolve the pigment and you get a kind of fluid in which the particles are floating.


If you apply some dry pigment to a surface, and then apply white spirit with a brush or dropper, it engulfs all the pigments, but does not disturb their placement. (Unfortunately, it also does nothing to "fix" them in place, even though I was told it would.)


Here's the result, all dried up. On the left, all is still undisturbed. On the right, I just pressed my finger against the card.
As expected, the 2 varnishes have sealed in the pigments. The test fixed with water is relatively undisturbed, but the test with white spirit is simply dry pigment, which slides right off the card.


A little tougher testing. On the left : smudging with a finger. On the right : scraping with a tool or nail.
The pigments fixed with water or white spirit come right off. The ones with varnish stay put.

Test results :

  • Water and white spirit are bad fixers for pigments
  • Any kind of varnish will do the trick
Problem still remains : now that I have an idea on how to keep pigments in place, how do I apply them to achieve a somewhat realistic look?