Sunday, 6 January 2013

Painting through a template - part 2

Painted the wheels for the M60 and the Puma through the circle templates I cut last week.

The green paint has nice coverage, the yellow one a little less. I guess this must be related to the pigments. The darker they are, the faster they provide total coverage. I sprayed all wheels with 2 layers now. Once dry, I'll evaluate if more is needed.


Gold

After masking the part that is to remain black, I sprayed the display base in gold. It'll probably need a second coat, once it's dry. Then I need to mask the gold part and spray the midde silver. Masking might prove a challenge, but I'm up for it.


A clear coat for the submarine

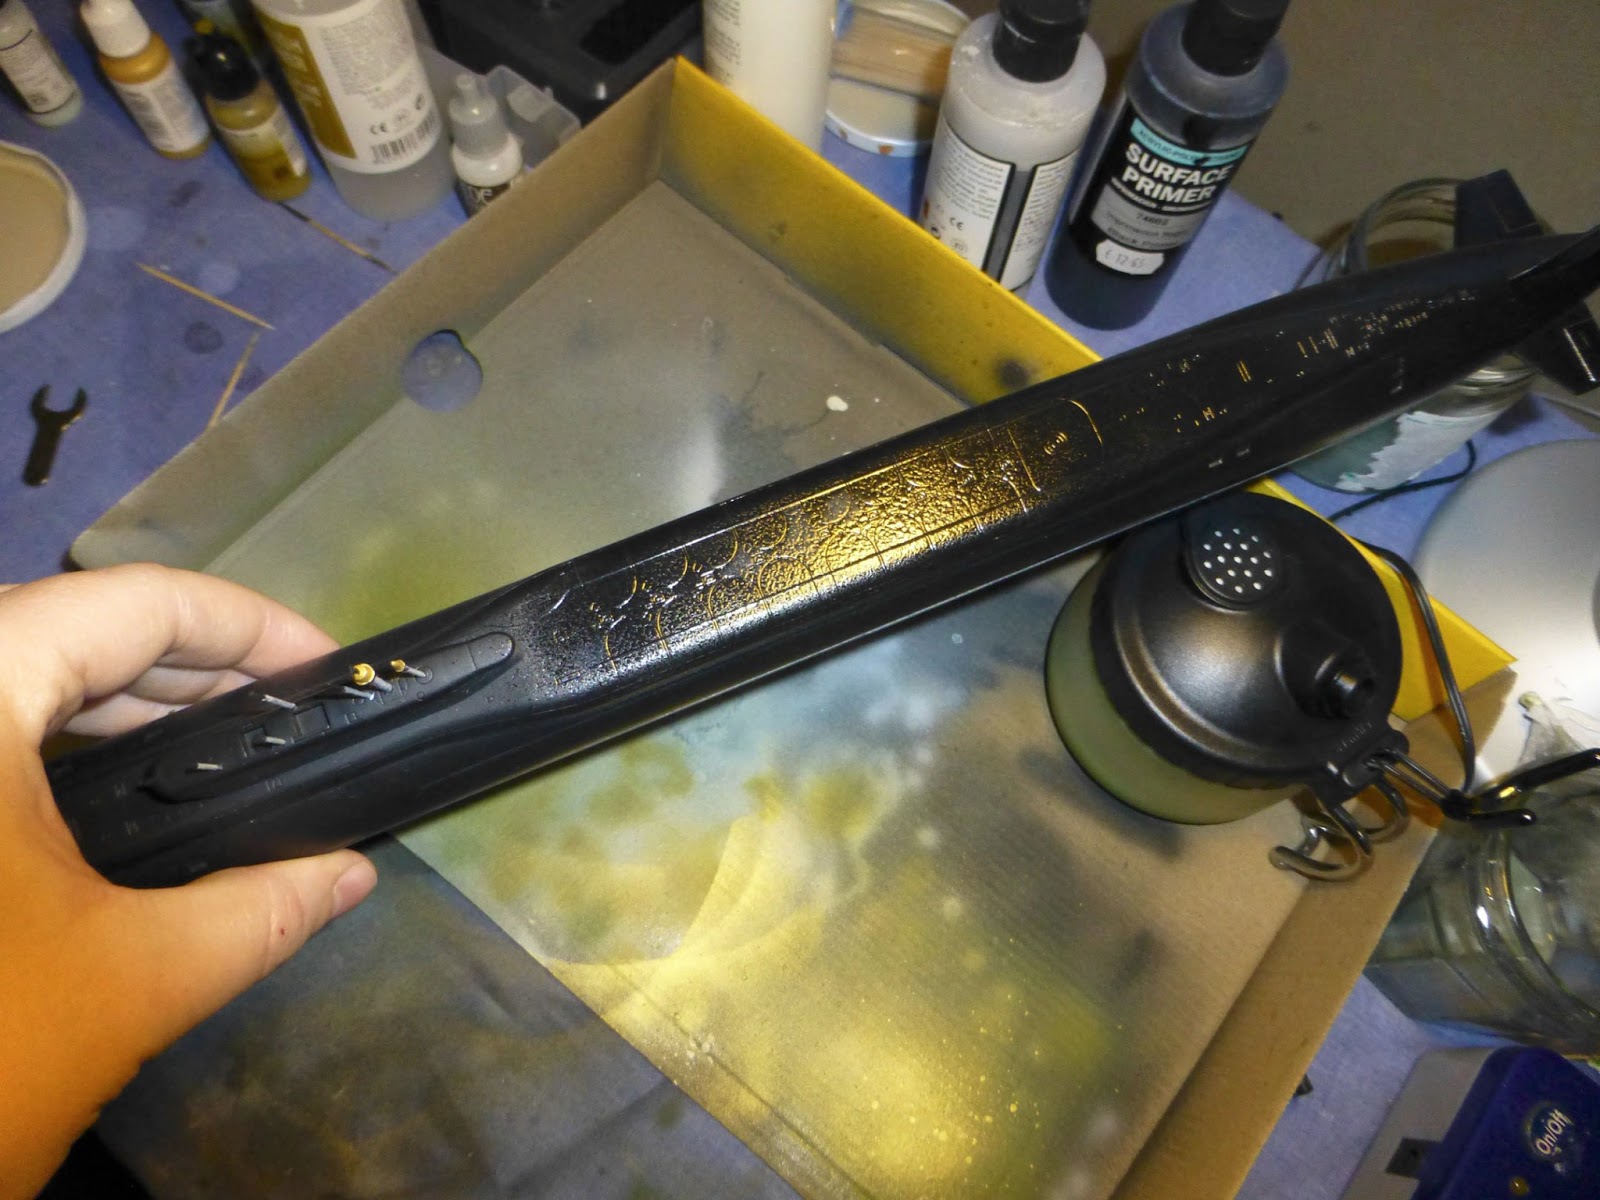
I tried giving the submarine a coat of gloss varnish, but it wouldn't go very well. I experimented with thinning it, but not sure the result will be okay.

In the end, the varnish was really pebbly or grainy, not sure what the best term is. It's hard to get on camera, but here's a picture anyway.


I'm not sure if it was a bad (old?) bottle of varnish, or if there's some trick to applying it to prevent this. I doubt I'll be able to correct it, unless maybe by putting a massive wet coat on top of it, to even it all out.

The bottle's empty now anyway, so correcting it will be for later.

Saturday, 5 January 2013

Unboxing : Academy 1/35 M1A1 Abrams

My fingers were itching to do SOMEthing and airbrushing wasn't it, so I decided it was time to start prepping the next kit : Academy's 1/35 M1A1 Abrams "Iraq 2003".


It's roughly twice the size of my previous tank (the M60), which is currently in the painting phase, but that doesn't mean it will be easier. It simply has more parts, more details, more things that can go wrong.


6 sprues contain a little more than 300 pieces, plus the lower and upper hull, 2 vinyl tracks and 22 poly caps. These poly caps will enable the wheels to rotate. If I can manage not to overdo the glue, we should end up with a tank with actual working tracks. If not ... oh well, it's not as if I'd let anyone play with it.

The older version of this kit had a main gun barrel that was way oversized. Luckily, I have the newer version, where the J-sprue contains a better scale version, as well as a lot of improved details.

Purists point out that the turret dimensions are for the old M1 and so are the tracks. The turret should be a little shorter and the tracks need to be replaced by the proper T158 "Big foot". If you're into historically accurate models, you can find the proper tracks as aftermarket parts, but I consider myself a more casual builder, not willing to spend $20-$30 on replacement parts for a kit that only cost $30 by itself.


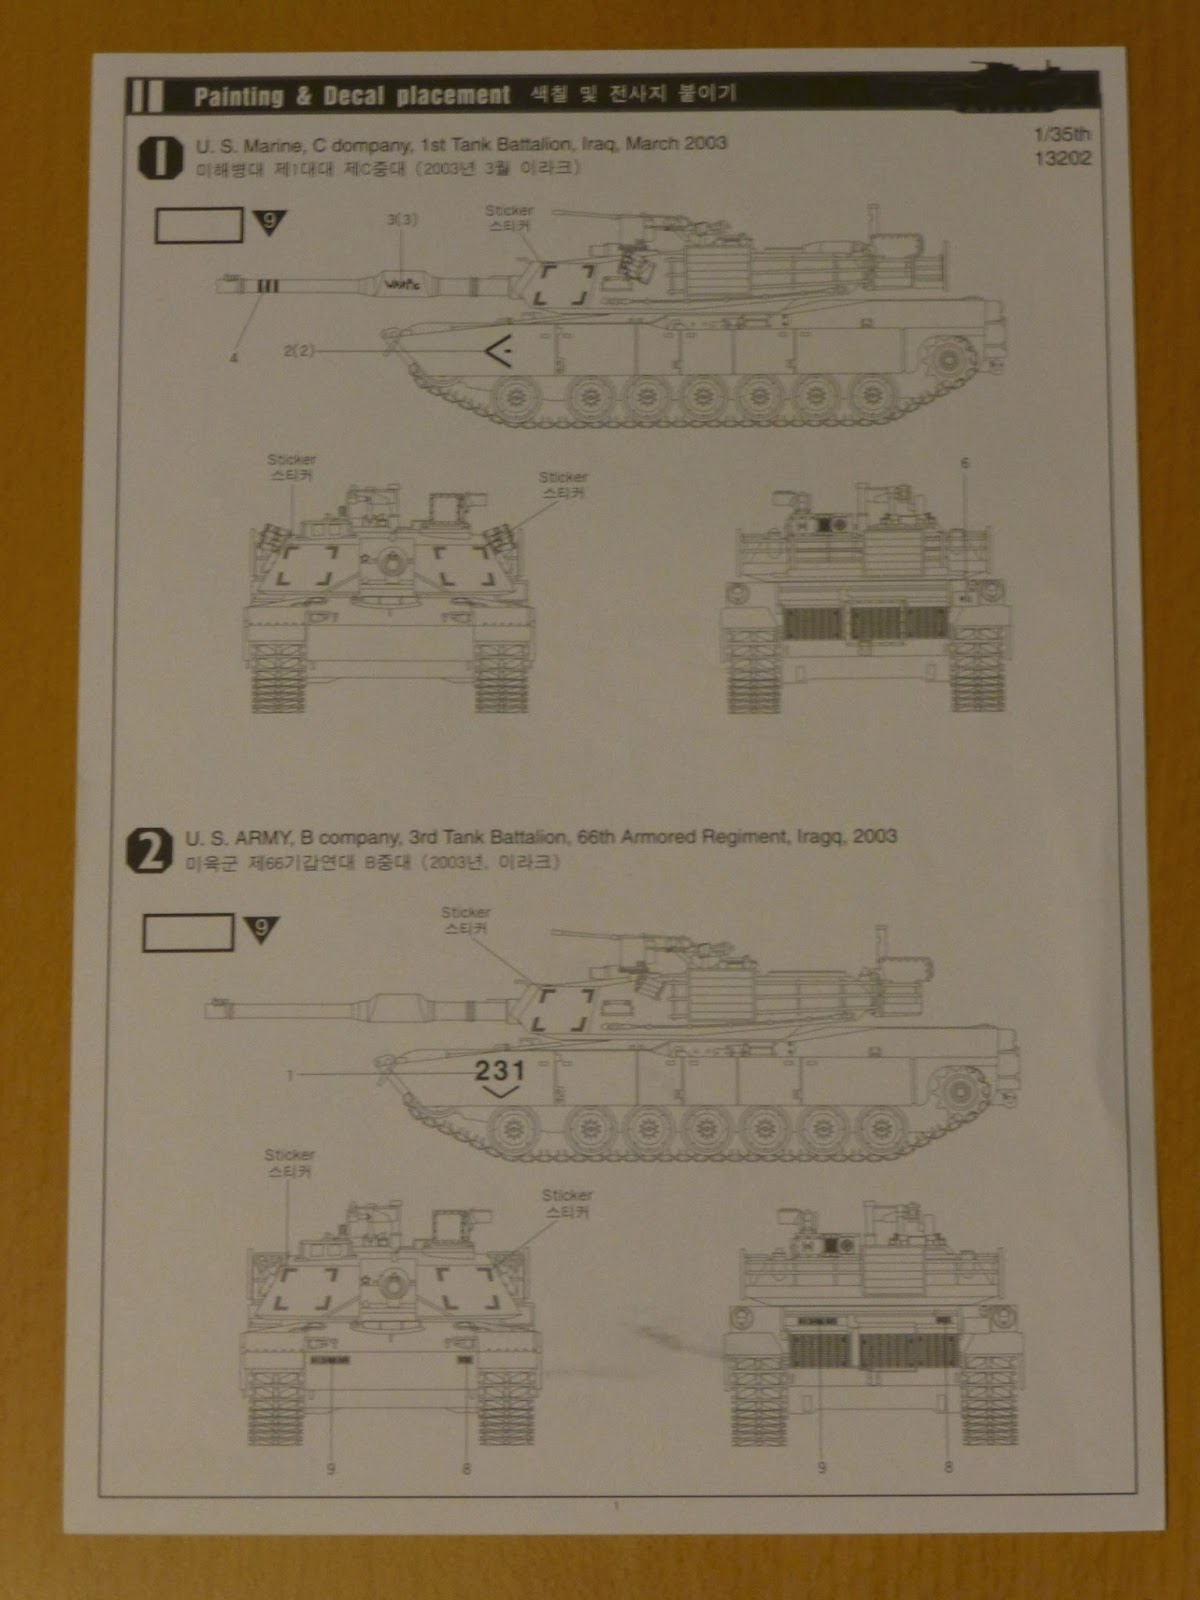
Painting options are simple : desert yellow all over. I still have to determine which Vallejo Air color that will be, but a close match will be good enough for me. Details like water cans, various boxes, ... can be painted yellow as well, or olive drab.
There's 2 decalling options, for either US Army or Marine Corps. 2 replacement stickers are provided, but I do not understand why and since they are yellow, it will be difficult to match the base colour with them, so I'll just stick with the regular decals.


For the turret basket, a piece of plastic mesh is provided, which you need to cut in the exact shape to fit in the basket. For the windows, one piece of clear acetate is provided, also to be cut in the desired dimensions. Is this a way to reduce the cost of the kit?


The instructions sheet consists of 9 steps. Each step seems very "busy", not sure why they didn't just make more steps, but a little simpler. We'll have to study these carefully. Some optional parts also depend on which build option you choose (Army or Marine), so pay close attention.

Like all instructions sheets for tanks, the first thing you have to do is attach the wheels, which is a big no-no if you want any means of painting it afterwards. Seems almost like these modelling companies only do construction without painting.


As usual, I start with soaking all the pieces in warm, soapy water so all residue (oil, mould release agent, ...) is removed, which could hinder paint-adhesion. The big pieces get extra attention with a sponge. Then everything is put in a warm place to dry.

Thursday, 3 January 2013

Adding the last parts

The last detail parts to be added are the missiles.

I handpainted these, because I wasn't sure how to hold them properly for airbrushing. Because the white paint doesn't cover very well, I had to add at least 5-6 layers of paint and the result isn't the best I could have gotten. In retrospect, I should have just airbrushed them, because the airbrushed layers of paint give much better coverage and are more smooth.


Applying decals, using MicroSet and MicroSol

Now that the Jaguar has a nice glossy layer, its time for adding the decals.

In the past, I just slapped on the decals. On many of my older models, the decals have "silvered". Hard to describe, but you'll now what it means if you see it happening. Now, I'm gonna use more care to place them.
Step 1 is making sure you have a glossy spot to put them on. Decals will not stick to matt, acrylic paint, if you do not add a glossy layer.
Step 2 is using decal softeners. I've chosen Microscale's MicroSet and MicroSol.


Cut the desired part from the decal sheet, using a sharp hobby knife. Scissors work equally well, but I find a knife easier to control. If possible, cut a little extra, unused paper, to have a "handle" to hold it with tweezers.


Hold it in a bowl of water for 10-20 seconds (If the decal floats off the paper, you held it in water too long)
then place it on a towel. The towel will absorb the excess water, while the wet paper will continue to do it's work, which is releasing the decal from the paper, while the "glue" is activated, which will stick the decal to your model.

Prepare the spot on your model where the decal is to be placed with a puddle of water, or use MicroSet, which is a dedicated product that will soften the decal, making it easier to place it and easier to follow curves or detail lines on your model.

At this point, using a paintbrush or your knife (careful you don't damage it!), you should be able to move the decal around on the paper. Pick the paper up with tweezers, hold it next to the spot on your model and slide it off onto the puddle of water or MicroSet.


When the decal is in place, you can still slide it around until it's 100% where you want it. If it doesn't want to move, apply more water or MicroSet.


If you're happy with it's placement, softly apply pressure with a cloth to press it down and remove excess moisture.


If the decal is not conforming to the model's shape very well, use MicroSol, which is a more concentrated version of the same product, if I'm not mistaken.
If you experience wrinkling of the decal film, don't panic, it will go away again. If not, apply more MicroSol and let it dry. If there are bubbles underneath the decal, carefully prick the decal and apply more MicroSol.


This is the end result, with all decals placed. The box art shows the circles to be a lot bigger, but my reference photos show them to be more or less accurate.

Wednesday, 2 January 2013

Masking the last piece

The last piece of the Puma that has yet to receive paint, is the turret.

The inside is white and some of the interior parts have already been painted, so they need to be protected.
I rolled up a piece of paper and carefully taped it to the ring that will connect the turret to the upper hull. It also gives me something to hold on to, while airbrushing.


The last photo-etch part

One more photo-etch piece needed to be added and that's the nameplate for the submarines display stand.
It's not 100% straight, but those are the disadvantage of working with superglue.


Casualties of time

My "attic archive" consists of 45 models and contains all models I made before my 10-year break.
I have pictures of all of them, which you can find here.

Two more models deserve being mentioned, though. They did not survive the last move and, unfortunately, I do not have any pictures of them :

Kamov Ka-50
A Russian attack-helicopter, who's most prominent feature is 2 contra-rotating rotors on top of each other.

Apollo 11's landing module "Eagle"
This one had a very brittle landing gear, which had been repaired many times, before I decided to put it to it's permanent grave. One day, I'll probably build another one.

May they both rest in pieces.

Tuesday, 1 January 2013

One more from the attic

The biggest model I ever built (about 14 years ago) was the I.S.S. (International Space Station). It's not in my own attic, since it's a too big to move easily. During a holiday visit to my parents, I finally thought of taking pictures of it.

The solar panels are not yet glued on (paint needs to be scraped off of the connector pins first) and two of them can no longer be attached. Some stuff has broken off and a whole part of it is missing (about the size of three Soyuz-modules). The paintjob is far from wonderful and this is from before the period where I had learned to glue before painting. (one of the reasons stuff has fallen off)

It may not be a masterpiece, but I spend so many weeks on it, that I'm considering trying to repair it completely. But first, I need to fix my workroom in the attic to make room for it.